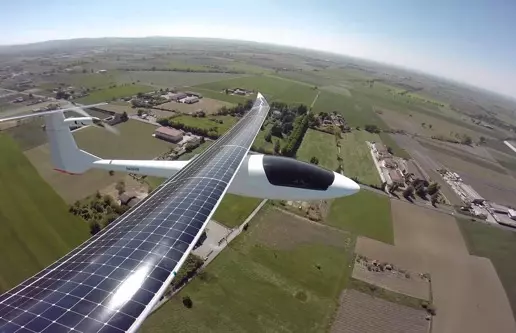
This is the first article in the manual of installation, configuration and use of the Free Flight Variometer app. This app helps you to find thermals that trigger near your position during an XC flight. The app shows you where them are with voice messages like: “Thermal to the right/left” or “Thermal ahead/behind”. It also gives you the wind speed and direction as well as the optimal speed to fly through voice messages like: “Brake one”, “Trim speed”, “Speed up one” and “Speed up two” that correspond to each of these flight configurations: minimum sink rate, best glide rate, half accelerated and full accelerated. You must enter your wing’s sink rate and speed in calm air, for this four configurations, in the app settings screen. For thermal finder function to work properly you must fly at the app recommended speed.
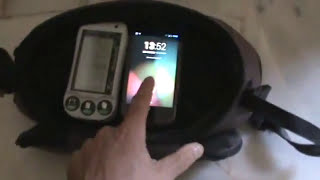
The philosophy behind this app is to replace the visual interaction with your device by audio interaction composed of sounds and voice messages. That’s why you won’t need to leave the screen of your phone on or keep it in sight during the flight, but inside a pocket of your flight harness, which brings freedom (no cockpit nor spare batteries) to your flights. For the thermal finder function to work properly it’s important that the phone be attached to your harness rather than to your clothes.
There are wired and wireless headset helmet kits that will allow you to interact with the app, answer phone calls and even connect a handheld transceiver during the flight.
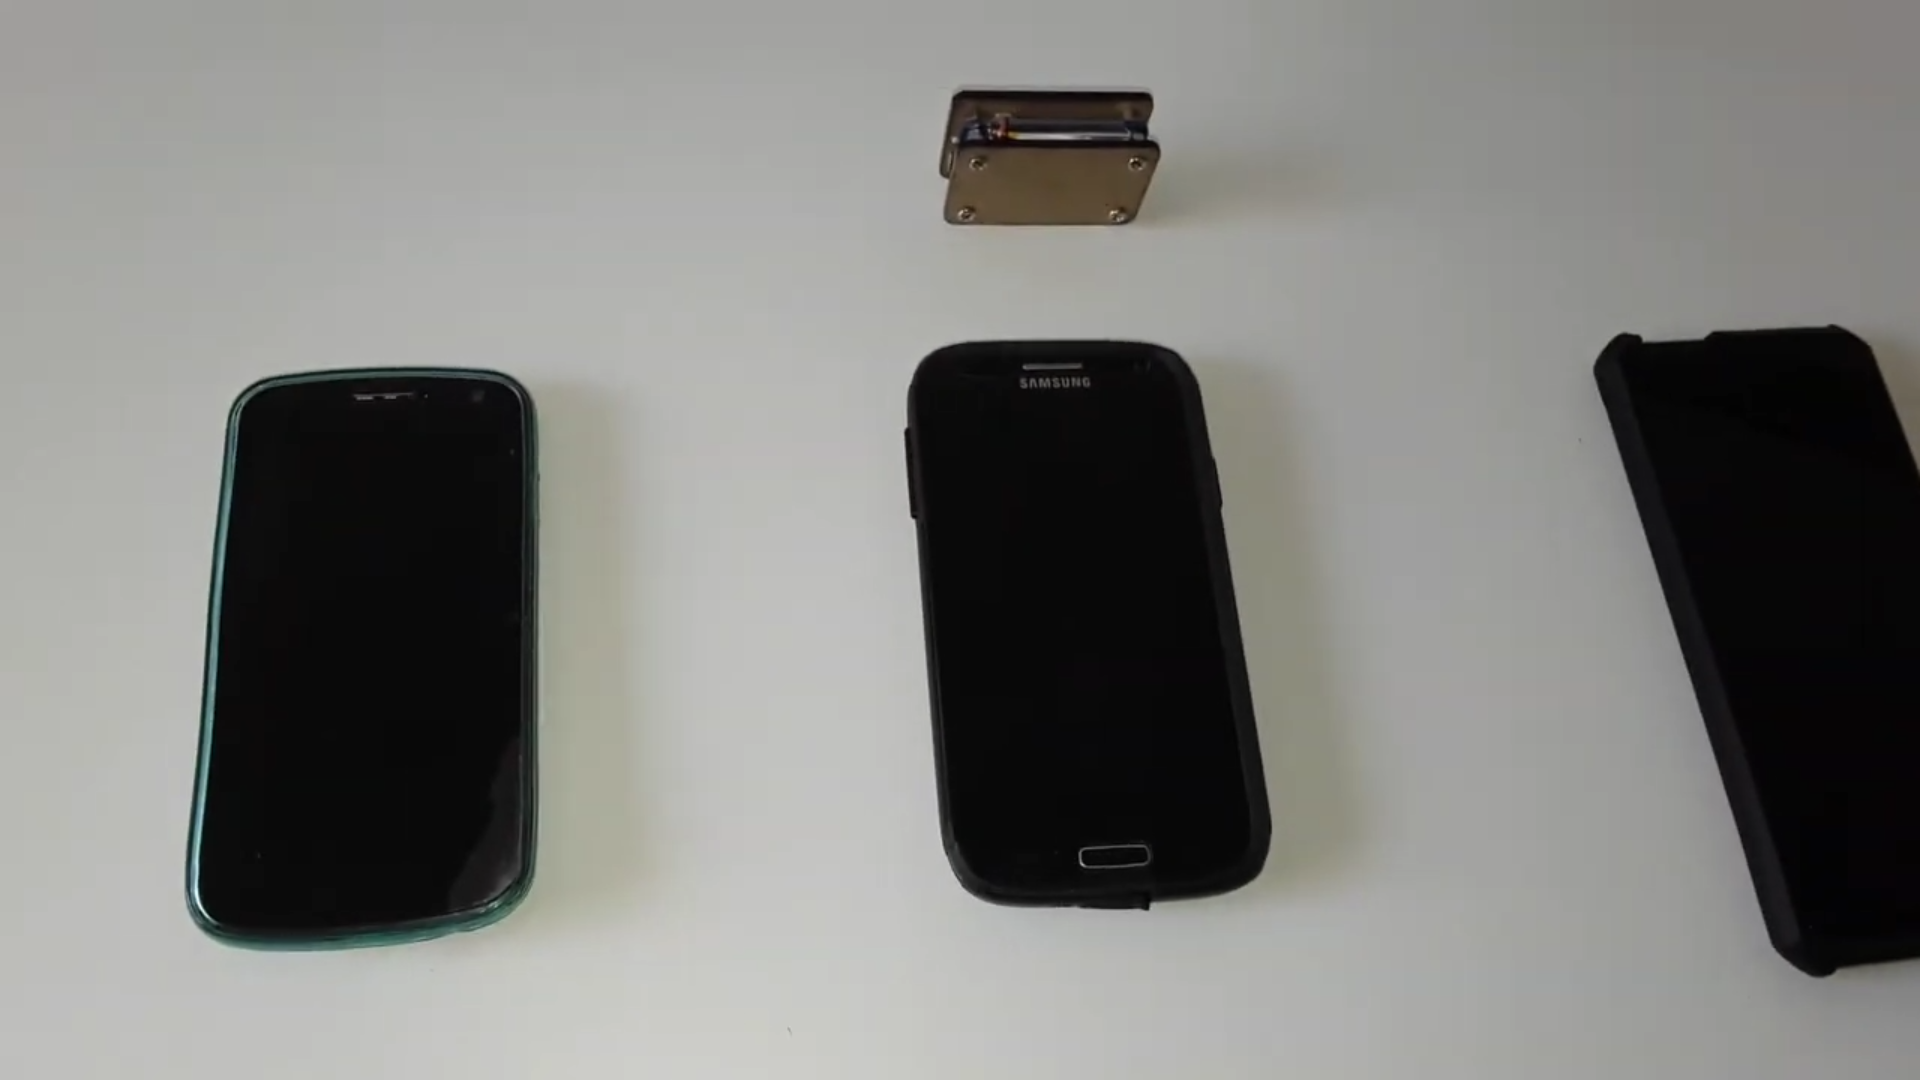
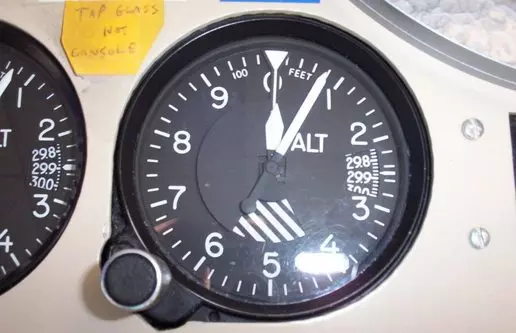
The app uses the built-in barometer and compass sensor of your phone. Therefore it’s recommended to keep your phone away from electromagnetic fields during the flight. In the event that your phone didn’t have a built-in barometer the app supports the Bluefly external barometer module.
To avoid your phone entering in sleep mode while running the app with the screen off, set autostart mode on and disable battery optimizations for the app.
Prerequisites
First of all, we are going to see what hardware and software elements are essential to install the application. If you have been able to install and download the application from the Google Play Store, your phone or tablet meets most of these requirements because otherwise the Google Play client on your device would not allow you to install it.
Hardware requirements
- Accelerometer
- Giroscope
- Compass
- GPS
- Built-in barometer or BlueFlyVario external module with barometer.
Software requirements
- Android version 5 (LOLLIPOP) or above
First steps after opening the app
Once the application is installed, we proceed to open it. The steps detailed below only need to be carried out the first time you open the application.
Battery restrictions
First of all, the app shows a dialog box that says:
System will stop GPS or kill this app if you turn off the screen or put the app to the background.
Open settings and add an exception from battery optimization to keep the app running even when the app is not visible.
Next, a wizard takes us to the battery optimization settings for this application and we must select the ‘No restrictions’ option so that the operating system does not put the application in low consumption mode when turning off the screen. You have to remember that we have designed the application to be used with the device screen off, reducing battery consumption to a minimum. If we have not disabled battery restrictions for an application, when it is no longer in the foreground or we turn off the device, the Android operating system puts that application in low power mode, restricting its access to the device’s sensors. If this happens, our application would stop working correctly so the first thing we have to do is disable the battery restrictions for our application.
Location permission
Secondly, the application requests permission to access the GPS sensor of your device. You just have to allow it while the application is running.
Auto start
The following dialog box says:
Enable auto start permission, disable battery optimization and enter the points of the polar curve of your wing before flying.
Of the three indications that this notice gives us, the second one was addressed in the previous point, the last one is covered in this article, and the first one we’ll see right now. It is closely related to disabling battery restrictions. Under certain conditions it is possible the operating system can close an application to free up resources. The application is designed to restart automatically in these (rare) cases but it will not be able to do so if we do not allow Auto Start. Please note that during the flight and with gloves on it is not feasible to get the device and restart the application manually.
Check how to enable
Auto Startoption in your device and do it to prevent the app from stopping working during the flight.
Text to speech data files
The application is available in three languages: English, Spanish and Portuguese. If you live in a country where any of these three languages are spoken, the application menus will be displayed in the language of your country. If this is not the case, the default menu language will be English.
If you want to change the default language to one of the other two languages that the application supports, you can modify it in the Language option on the settings screen. Sometimes it is necessary to restart the application for the change to take effect.
The application requires the presence of some speech synthesis data file to be able to generate vocal messages. Naturally the application will try to match the language of the voice messages with the language of the menus. That is why the app tries to find a speech synthesis data file for the language selected in the preferences. If it doesn’t exist, the app will show an error message telling you to install it and restart the application.
A voice synthesis file is a file that the text to speech engine uses to generate audible vocal messages from text. Each voice synthesis file is associated with a language and a dialect. The language of the voice messages or Text to speech files missing, if there is no voice synthesis file installed on the device, is displayed under the heading Speaker language of the main screen.
Connect an external barometer
At this point, if your phone has a built-in barometric sensor, you should be hearing the vario tones. If you do not have any barometric sensor on the device, the main screen of the application will show the message Go to the menu or press speaker button to start the Bluefly module in the Pressure Sensor section. The BlueFlyVario module is the only external pressure sensor supported by the application at this time. It is a hardware module with a pressure sensor that connects to the device via Bluetooth. To establish a connection to the BlueFlyVario, turn on the module, go to the application menu and select the Connect a barometer option. Your phone’s bluetooth device manager will open to pair the device and, if everything goes well, you will start hearing the vario tones in the application instead of hearing them in the BlueFlyVario module. Please note that you will only have to do this step the first time you connect to the BlueFlyVario. From that moment on, the hardware address of the BlueFlyVario module will be registered and the application will connect to it without your intervention.
If there is an internal barometer on your phone it will be the default barometer but, if your device’s barometer is not accurate enough, you can set an external barometer as the default in the preferences screen.
Ready to takeoff
This is the speech you will hear if the barometer is connected and the GPS has located enough satellites to triangulate your position. If the GPS is not turned on, a link will be displayed that will take you to the Android screen where you can turn it on. After starting GPS, searching for satellites may take some time. Make sure you have clear view of the sky. After hearing the speech Ready to take off, the vario tones are silenced until your speed exceeds 10 km/h, a sign that you have taken off. This is done to facilitate concentration during takeoff but you can change this in the settings screen.


